
When my husband is away, this mouse will, do projects. I always settle better to doing things when my husband isn’t here. I think in part it’s the ability to do things on my own timetable but it’s also the ability to make a lot of mess and only inconvenience myself.
He went away on a holiday with his family for a week and so I took advantage of some quality Lisa time to tackle a project I’ve been thinking about for a while – re-covering a storage cube.
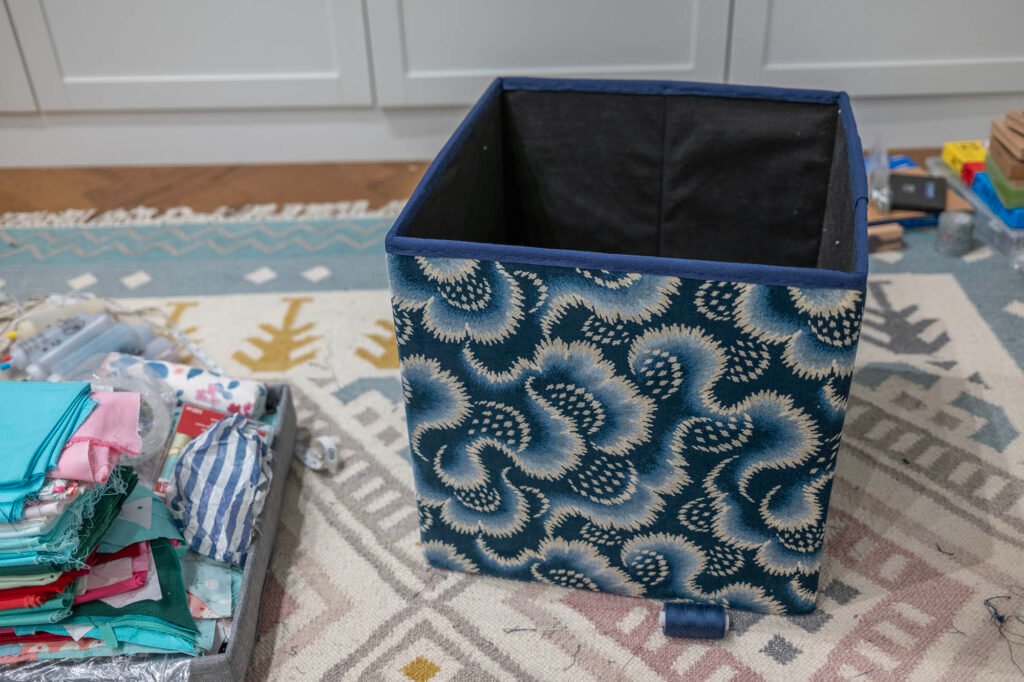
We have very little space in our house so everywhere we can cram in storage, we do, including in two very boring, very grey but very spacious and sturdy storage cubes that also function as additional seating when we have guests. One is in our living room and houses various craft materials and one is in our space room/office and houses board games and card.
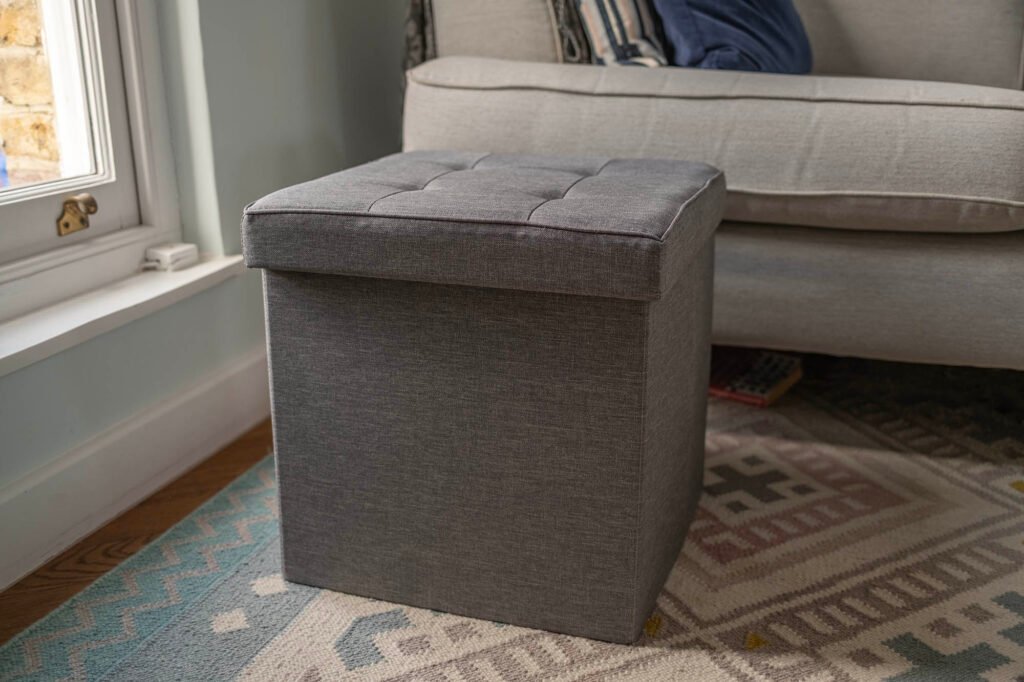
I bought the storage cubes from Wilkos back in 2020 for just £14 each. They’ve held up really well apart from the fact that my husband repeatedly putting his feet up on the edge of one has worn away the fabric on the lid and so it has salt.
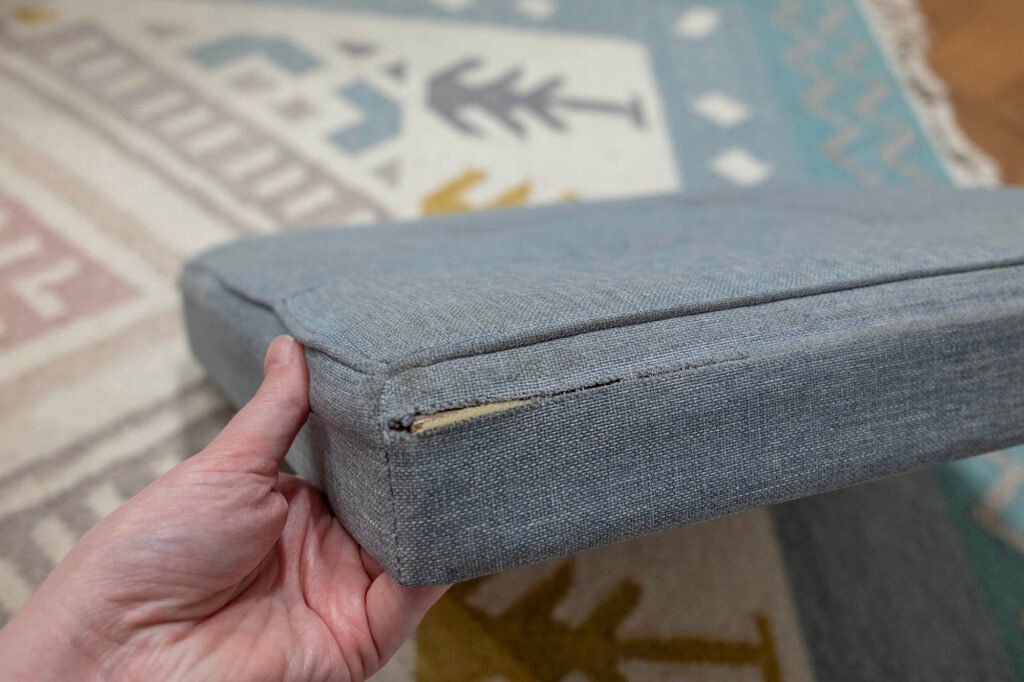
So it was time to either replace or re-cover it. I don’t love the idea of replacing something if there’s a way to repair it and make it better, especially if I can’t find anything as good as the thing I have.
I have never upholstered anything before, but I have a sewing machine and I can sew in straight lines, so I thought I would give re-covering it a try.
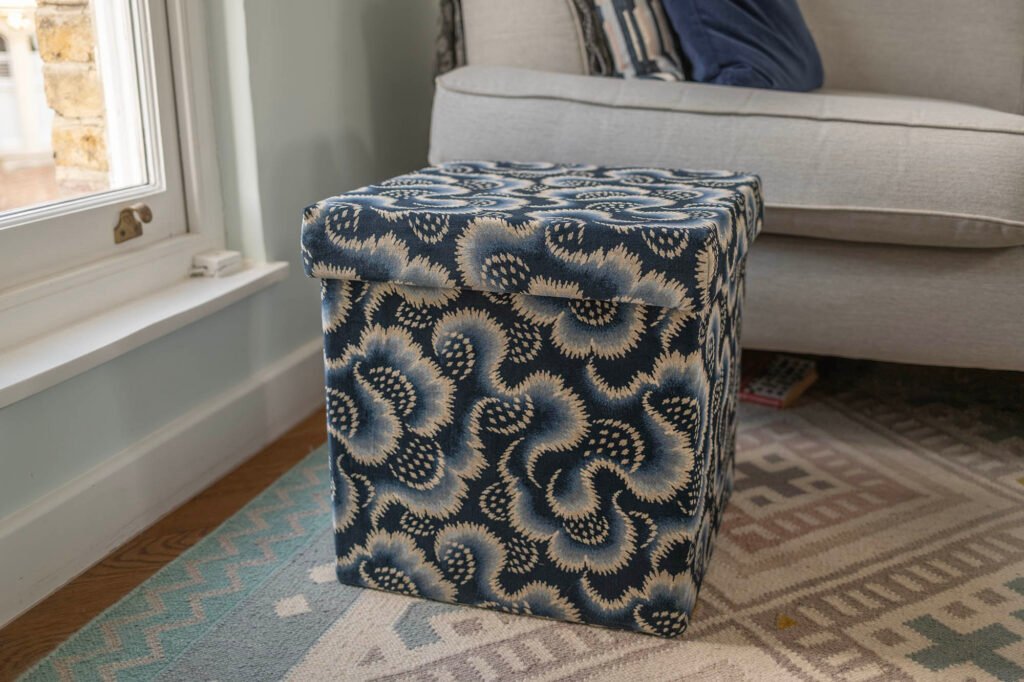
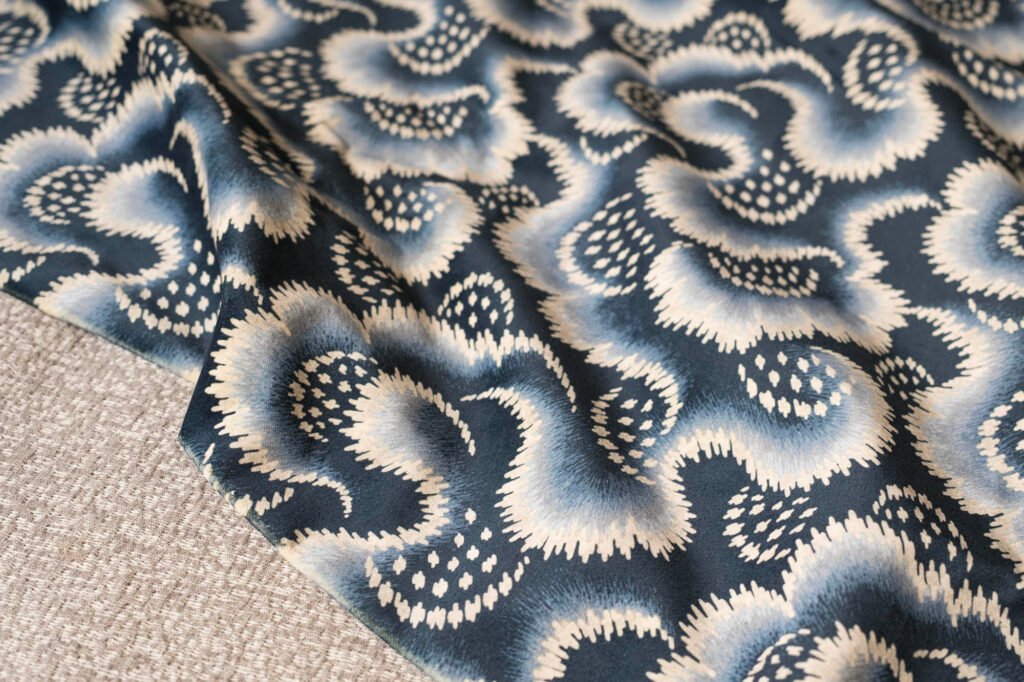
I bought the fabric – Henry Holland x Harlequin Ludaix in Pacific – off eBay a few weeks ago.
I read a few online tutorial style posts for re-covering storage cubes/footstools but none of them were quite right for ours – a lot were in one piece whereas ours is a separate base and lid. A lot also had feet and you could hide staples under the base, ours are collapsible and not like that.
It turns out that the best thing to do was just to sort of de-construct the existing one and try and work it out. The lid was a lot easier to do than the base. The lid was a bit of basic sewing and then some stapling (gotta love the big fancy stapler, I was definitely living out my best teacher creating classroom wall displays fantasy).
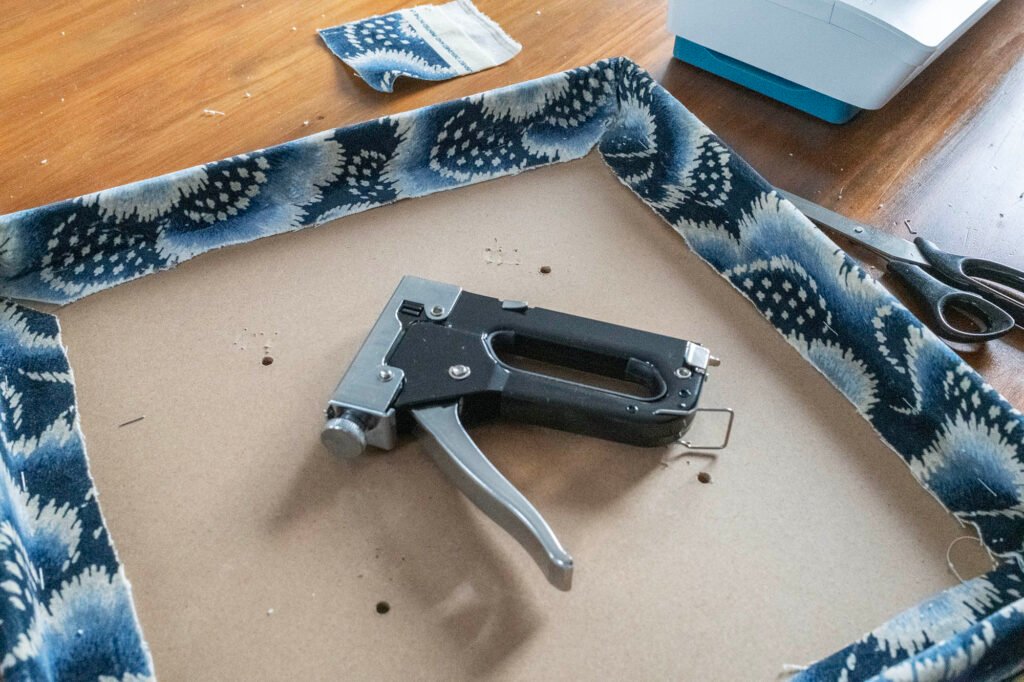
The base was the trickiest. What I should have done was create four different side panels and join them together with the base. What I did do was lazy and I just created one long side panel and connected it once. The problem with creating one long side panel was it made that bit easier, but it made attaching the bottom more difficult because it essentially meant trying to connect what was really a big tube with no corners to a square. I did it eventually, but I needed to do some adjustments and the base isn’t perfect (but nobody looks at the base anyway). Don’t be like me, do it properly to begin with.
A lot of frustration and a lot of hand-sewing at the last stage to attach the fabric at the top and the binding, and it was done.
It isn’t perfect, but it is done and although it has cost me way more time, money and effort to re-cover than it would have to replace it, but it isn’t plain and boring anymore and it still holds all of my craft stuff.